Image Reconstruction in Optical Tomography

Home

Introduction
  About ODT
  About TOAST
  Matlab toolbox

Download
  Toast sources
  Matlab toolbox
  Installation

Documentation
  Getting Started
  Matlab demos
  FAQ
  Change log
  References
  License

Support
  Links
  Message board
  Contacts
  Vacancies

Toast toolbox tutorial: Building a spherical mesh with Gmsh

Toast++ doesn't include its own mesh generator except for trivial meshes like circles, spheres and slabs without internal boundaries. Toast can however import meshes built with Gmsh, an open-source mesh generator. To run the following examples, you need to have Gmsh installed on your system. You can download Gmsh from its home page. On many Linux systems (such as Ubuntu), you should be able to install gmsh with

sudo apt-get install gmsh

Launch Gmsh in interactive mode by typing

gmsh

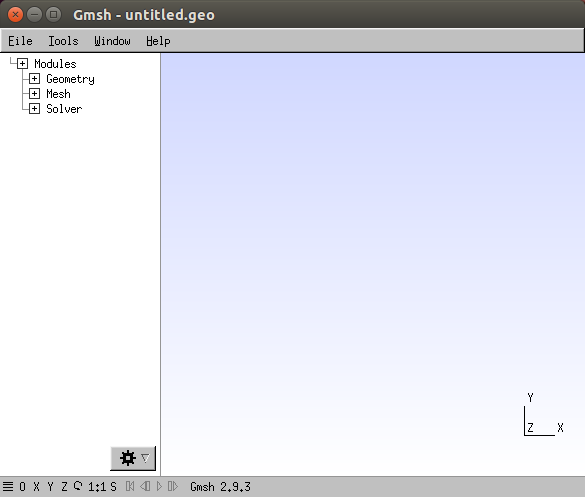
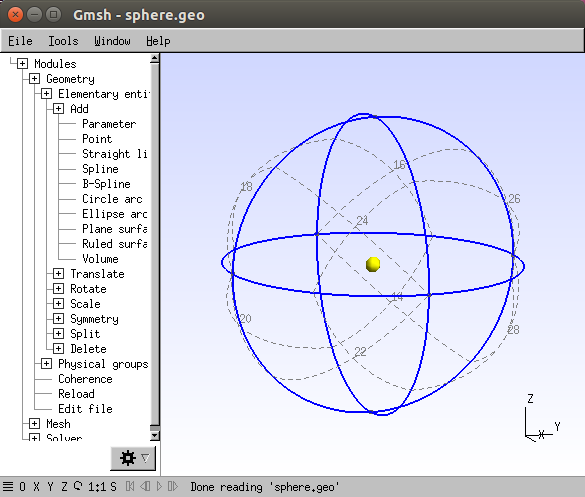
(On Windows systems, you will probably have an icon or Start menu item that allows you to launch Gmsh). You should see the Gmsh application window, containing the menu window (left) and the graphic window (right)

The Gmsh main window.

We will now use Gmsh to construct a mesh for a simple spherical domain.

Note: If you want to skip the manual definition of the sphere geometry described in Step 1 of this tutorial, a ready-made geometry file can be found in $TOASTDIR/examples/matlab/gmsh/sphere.geo. You can load it into gmsh with File | Open | sphere.geo after navigating to the correct subdirectory in the file-open dialog. Then continue with Step 2.

Step 1: Define the geometry

The Geometry module allows to define the domain to be meshed. We need to add some geometry elements to the current (empty) project. These contain points, circle arcs, surface patches, and finally the sphere volume.

Adding parameters

First, let's add a few parameters to be used for these geometry definitions.
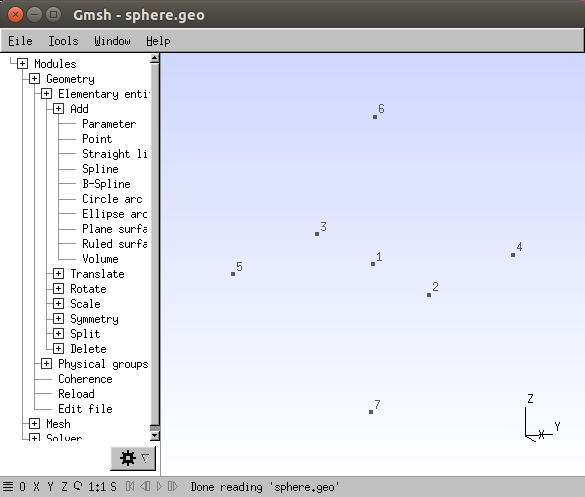
  • Click Geometry | Elementary entities | Add | Parameter
  • First, the mesh radius. Name: rad, Value: 10. Click Add
  • Next, the node density. Name: ndens, Value: 1. Click Add

Adding points

Next, we need to define the points we will use to construct the circle arcs for the sphere.

  • Click Geometry | Elementary entities | Add | Point
  • Add the following 6 points:
    x=0,    y=0,    z=0,    element size=ndens
    x= rad, y=0,    z=0,    element size=ndens
    x=-rad, y=0,    z=0,    element size=ndens
    x=0,    y= rad, z=0,    element size=ndens
    x=0,    y=-rad, z=0,    element size=ndens
    x=0,    y=0,    z= rad, element size=ndens
    x=0,    y=0,    z=-rad, element size=ndens
  • Close the dialog, and press 'q' to finish the point input
  • You can rotate the view in the graphic window by left-clicking and dragging the mouse.
  • For the next step, you should display the point labels: Click Tools | Options | Geometry. Tick Point labels.

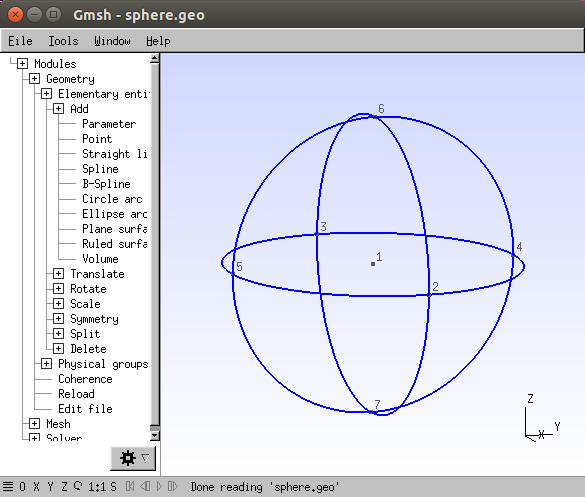
The points we will use to attach the circle arcs.

Adding circle arcs

We can now attach circle arcs to the points to define the sphere patches.

  • Click Geometry | Elementary entities | Add | Circle arc
  • To define a circle arc, you need to click on three points in the graphic window:
    • The first end point of the arc
    • The circle centre point
    • The second end point of the arc
  • Add the following 12 arcs by clicking the corresponding points:
    2 - 1 - 4
    4 - 1 - 3
    3 - 1 - 5
    5 - 1 - 2
    2 - 1 - 6
    6 - 1 - 3
    3 - 1 - 7
    7 - 1 - 2
    4 - 1 - 6
    6 - 1 - 5
    5 - 1 - 7
    7 - 1 - 4
  • Press 'q' to finish the arc input.

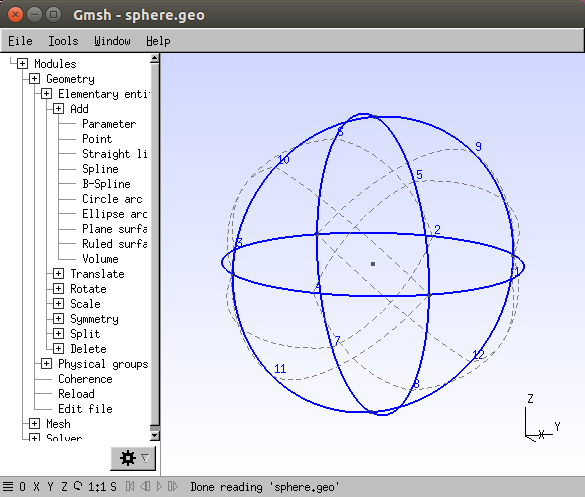
Sphere geometry after defining the surface patches.

The circle arcs defining the sphere.

Adding surface patches

We are now ready to add the patches that define the sphere surface. Each surface patch is bounded by three circle arcs. You define a surface patch by clicking the bounding arcs.

  • Open Tools | Options | Geometry, un-select Point labels, and select Line labels.
  • Click Geometry | Elementary entities | Add | Ruled surface
  • Add 8 surface patches by clicking the following sequence of 3 arcs (each arc defined by its label:
    2 - 7 - 12, press 'e'
    2 - 9 - 6, press 'e'
    3 - 6 - 10, press 'e'
    3 - 7 - 11, press 'e'
    4 - 11 - 8, press 'e'
    4 - 5 - 10, press 'e'
    1 - 5 - 9, press 'e'
    1 - 8 - 12, press 'e'
  • Each surface is represented by dashed lines.
  • Press 'q' to finish the surface input.

Sphere geometry after defining the surface patches.

Adding the volume definition

The volume is determined by the bounding surface defined in the previous step.

  • Open Tools | Options | Geometry, un-select Line labels, and select Surface labels.
  • Click Geometry | Elementary entities | Add | Volume
  • Click on a surface line.
  • Press 'e' followed by 'q' to finish the surface input.

Sphere geometry after defining the volume.

Writing the geometry to file

You can now save the sphere geometry to a file for later use and manual editing.
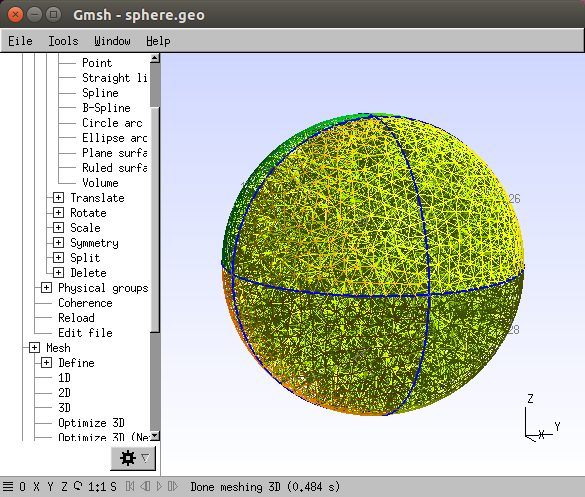
  • Click File | Save As ...
  • Save as sphere_test.geo

Step 2: Meshing the sphere

Creating the volume mesh

Given the logical geometry of the domain defined in the previous step, we can now mesh the volume.

  • From the menu window, pick Modules | Mesh | 3D

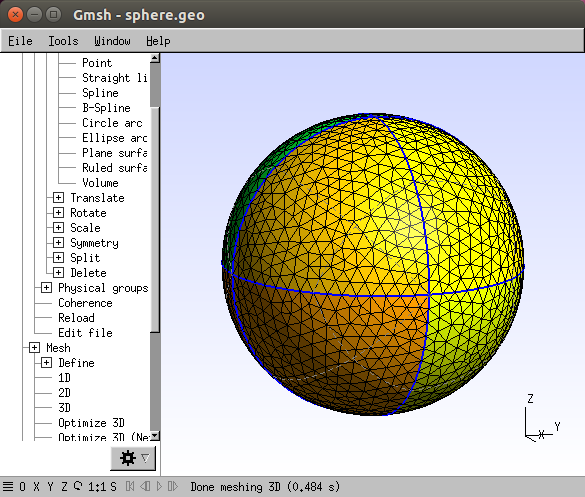
The meshed sphere volume.

You can change the displayed elements:

  • Click Tools | Options | Mesh
  • Tick Surface faces
  • Untick Volume edges

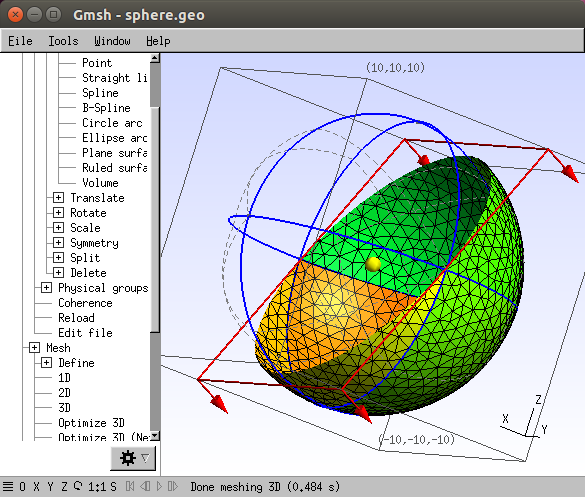
Displaying the surface mesh.

You can also define clipping planes to display the internal structure of the mesh:

  • Click Tools | Clipping | Mesh
  • Click and drag the mouse left or right in any of the four input boxes defining the plane parameters.

The clipped mesh surface.

Writing the mesh to file

Now save the mesh to a file in Gmsh ASCII format.
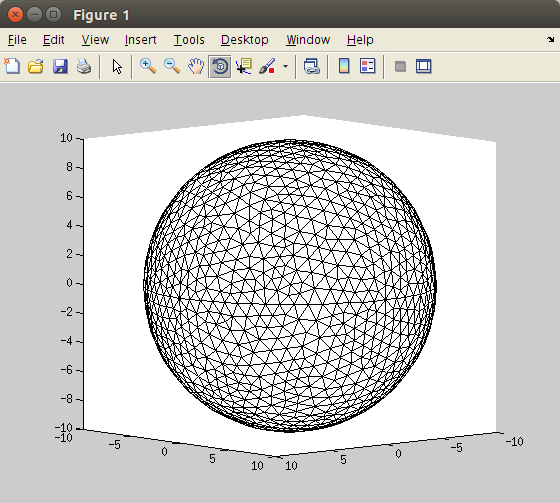
  • Click File | Save Mesh
  • The mesh will have the same file name as the geometry file written earlier, but with file extension .msh.

Step 3: Loading the mesh into Toast++

The Matlab interface of Toast++ has an option to read meshes in gmsh format. Currently this is limited to linear triangles in 2D and linear tetrahedra in 3D, but additional element types will be added in the future.

  • Launch Matlab, and make sure that the Toast environment is loaded (run $TOASTDIR/mtoast2_install.m if required).
  • Type

    mesh = toastMesh('sphere_test.msh','gmsh');

    The 'gmsh' option instructs Toast to read the mesh in Gmsh format. Please note that by default, Gmsh and Toast use the same file ending (.msh) for mesh files, but the formats are not compatible. Trying to load the Gmsh-generated mesh without the 'gmsh' flag into Toast will fail.

    The toastMesh command may give out a warning

    Warning: toastMesh: removed unused nodes

    This is due to the fact that gmsh mesh files sometimes contain geometry-related vertices which are not connected to any elements. These are stripped by the toastMesh reader. You can ignore this warning.

  • To display the imported mesh in Matlab, type

    mesh.Display
  • You can write out the mesh file again in Toast format:

    mesh.Write('sphere_test_toast.msh');

The imported sphere mesh.

Next: Mesh generation tutorial 2: Add internal structure